Some channel strip parameters (strip enablement, voice, balance, pan, insert effect, all the sends, dry level) exist in 2 variants: global and customised. A style maintains a single set of global parameters, and many sets of customized parameters. Customized parameters have higher priority, but are optional: if no customization is present the global setting is used as fallback.
You have a set of customized parameters for every style section (these sets affect the Acmp parts only), and for every OTS (these sets affect the Lead parts only).
When a new section and/or OTS takes effect, the program looks for a customized parameter belonging to the corresponding set of parameters. If one is found it is used, otherwise the global parameter is used.
To recap, you can customize a parameter:
Accompaniment parts: for every style section (main, intro, ending, break, fill).
Lead parts: for every OTS (1÷8)
Aux part: no customisation, these settings are unique style-wide and persist when you change a section or OTS.
A customised parameter can be recognized by a green background/outline (as opposed to the mixer blue/white background) in the corresponding widget. Here below (as well as in previous screenshots) you can see a few examples.
![OTS parameter customisation.]()
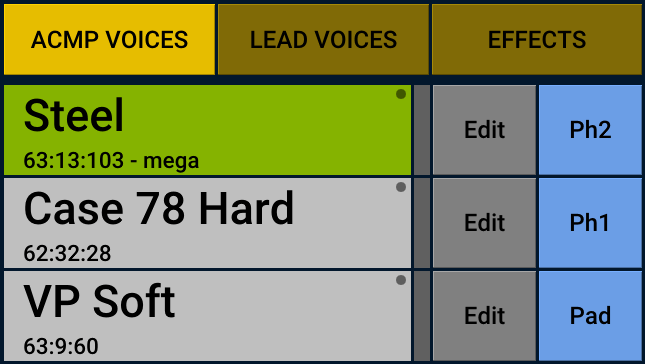
L/R voices visualized. These parts can be customized for every OTS.
OTS 2 is selected.
These parameters (green background) are customized. Their value is specific for OTS 2 (and being higher priority than the global setting, it is automatically played every time OTS 2 takes effect).
These parameters (blue/white background) are global. They are valid for all OTSes (if no customization is present in a specific OTS).
![Section parameter customisation.]()
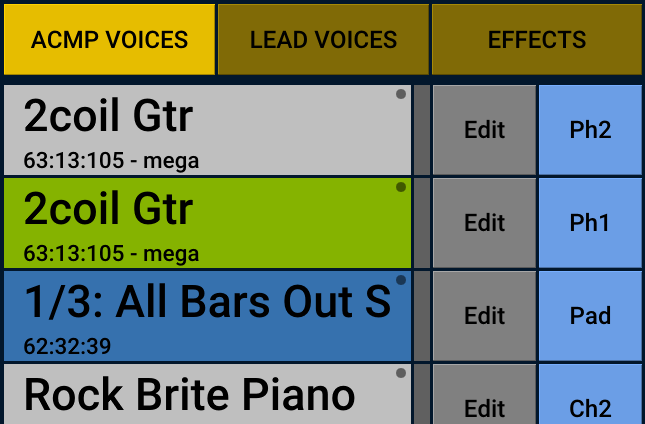
Acmp voices visualized. These parts can be customized for every style Section.
Section Main 3 is selected.
These parameters (green background) are customized. Their value is specific for Main 3 (and being higher priority than the global setting, it is automatically played every time Main 3 takes effect).
These parameters (blue/white background) are global. They are valid for all style Sections (if no customization is present in a specific section).
How to customise a parameter
Select the desired section (for accompaniment parts) or OTS (for lead parts)
Right click (long press) the widget. The background turns green (if it was blue/white!) and the parameter still retains the value it had before.
Change the parameter at will. The editing will affect only the current section/OTS.
How to revert back to the global parameter
Select the desired section (for accompaniment parts) or OTS (for lead parts)
Right click (long press) the widget. The background turns blue/white (if it was green!) and the parameter instantly reverts to the global value. The customised parameter it had before is lost forever.
If you change the global parameter you will affect globally all those sections/OTSes pointing to that global value.
Beware: sections and OTSes might change automatically if the sequencer is running! Resulting in an unintended editing.
Be careful!
You might have some sections/OTSes with a customized parameter/voice/effect (green background: each section is independent from the others), and other sections not customised (blue/white background: all sharing the same global parameter).
If you tweak a green background parameter/voice/effect, you only affect that section/OTS (and nothing else). If you tweak a blue/white background parameter you affect all the section/OTSes which have a blue/white background for that parameter (= there is only one shared global parameter).
How to customise a voice
The voice can be customised with the same general procedure already outlined above, by right clicking (long pressing) the voice display within the desired Acmp or Lead Voices panel. As usual, before customizing a voice, be sure to select the correct section/OTS.
Voice customization is useful not only when you want to change the instrument, but also when, keeping constant a given instrument, you want to change some Voice Editor parameter (i.e.: the filter cutoff or the octave shift).
Please be aware that, in case of style parts, if the prerecorded sequence needs a megavoice, you should stick to compatible megavoices to retain maximum fidelity. Otherwise an automatic remapping of articulations will be applied.
Also drumkits might pose some problems, since the drums mapping might be different (and a sequence thought for one mapping would not musically work with a different mapping). Anyway, if the drumkits are not too much different, Groovyband Live! is smart enough to make the appropriate remapping of the midi notes on the fly!!
Although this automatic remapping feature is awesome, please use a grain of salt and do not abuse it! Sooner or later you will simply it a wall, since not every arbitrary conversion can take place (with musically good results).
You might also occasionally encounter voices with a blue background. These are in effect multi-voices: a series of different voices that take effect in succession within a given music sequence to further enrich the style part.
While the sequencer is playing, you might notice (and hear) the display being updated with the voice currently playing.
You can cycle through the whole sequence of multi-voices by right clicking (long pressing) on the voice display. This is best done with the sequencer stopped (so that the voices will not be changed automatically behind your back). When a particular voice within a multi-voice is displayed, you can edit or replace it as usual.
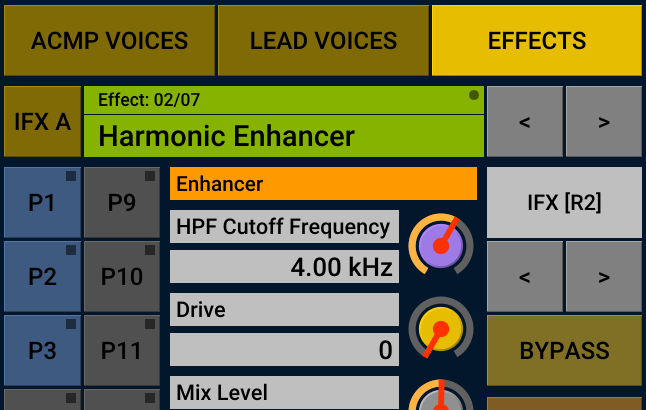
How to customise an effect
The effect can be customised by right clicking (long pressing) the effect display within the DSP Editor. Before customizing an effect, be sure to select the DSP in the correct strip and the correct section/OTS.
The effect customization might consist in an entirely different algorithm or only a few parameters tweaking to an unchanged algorithm (i.e: increasing the “Distortion” in a guitar stomp box effect).
If the strip supports 2 effects (IFX A and IFX B), both will assume the customised state (green background). Of course you can edit only one of those, if that is all you need!
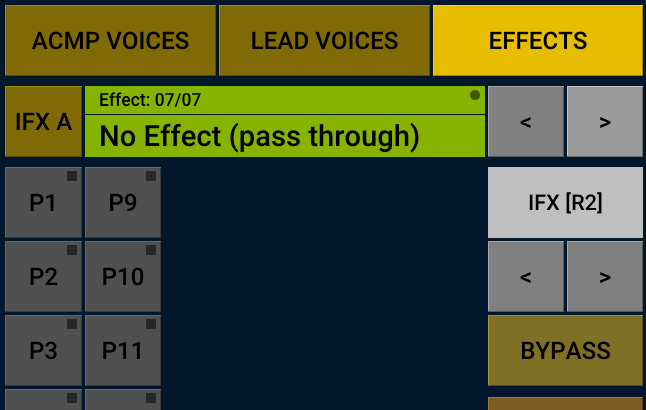
If you want to switch off an effect for a given section/OTS you may select the “No Effect” algorithm under the Misc category.
Volume fader vs Balance knob
The Volume fader cannot be customised, the Balance knob can.
Use the volume faders to adjust the relative volume of parts generally across the whole style. Use the balance knobs to adjust the volume of a given part across different sections/OTSes.
Spelled in different words: look at all the parts when adjusting the volume faders; look at only one part (but in different sections/OTSes) when adjusting the balance knob.
Parameter customisation is an opportunity, not an obligation just because you can: if you do not feel the need to use it, just do not use it! If in doubt, use it sparingly.
Mixer parameter adjustments (global or customized) do NOT statically override parameter modulation built-in style sequences. For example, if a style sequence continuously moves the pan from left to right, and you tweak that pan, the pan still moves from left to right, but with a center of gravity that is shifted towards the value you entered.